


Amazing Red Velvet Cupcakes with Caramelized Centres
 |
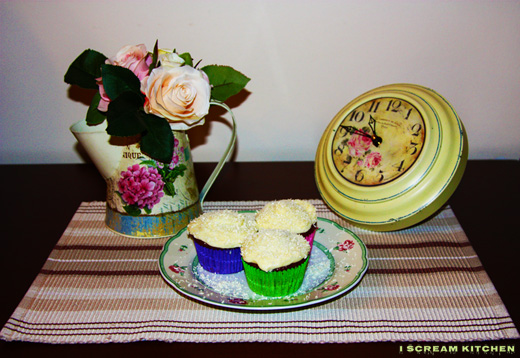
| Red velvet cupcakes |
The only thing I
was concerned about those was the atrocious amounts of red colouring needed to achieve
a bright red colour. As I’m not a big fan of additives, I didn’t put by far as
much as I should have, so mine ended up on the brown side. If you decide you
want them super red, you have to add enough red colouring to the mixture that
it looks like blood, as it darkens a bit later. My cupcakes are covered with a
delicious cream cheese frosting, which goes so incredibly well with them. On
the inside there was a hidden surprise: a caramelized piece of white chocolate,
which gave a lovely complex texture to the cake. But enough of me yapping,
there’s the recipe:
 |
| Red velvet cupcakes |
(makes around 9)
For the cake:
1 cup sugar
1 egg
½ cup oil (I
used sunflower seed, it’s very good because it’s tasteless, don’t use anything
rich in flavour like olive or sesame seed oil!)
½ cup milk with
a couple of drops of lemon juice in it
½ tsp. apple
cider vinegar
½ cup brewed coffee
(room temperature, otherwise it will scramble the egg)
1.25 cup flour
½ tsp. baking
soda
½ tsp. baking
powder
½ tsp. salt
1 tbsp.
cocoa-plain
1 packet of
vanilla sugar/ 5-6 drops of vanilla flavouring/ 2 tsp. vanilla extract/ 2
vanilla pods
Red food
colouring (depends how much you need to use on the type you buy, just read
instructions on the packaging)
Around 9 pieces
of white chocolate
Cupcake/muffin
baking tray
Cupcake paper wrappers
For the cream cheese
frosting:
½ cup cream
cheese
½ cup sifted
confectioners’ (powder) sugar
2 tbsp. softened
butter (no margarine!!!)
½ packet of
vanilla sugar/ 3-4 drops of vanilla flavouring/ 1 tsp. vanilla extract/ 1
vanilla pod
Preparation:
1. Preheat the
oven to 165 C/325F
2. Beat the egg
with the sugar until creamy (with a mixer) then add slowly while mixing the
oil, milk, vinegar, coffee, flour, baking soda and powder, salt, cocoa,
vanilla.
3. Add the food
colouring, as mentioned before, if you’d like a bright red cupcake, your dough
must look very very bright red, as it darkens with baking.
4. Pour the
mixture in a jug, so it’s easier to pour in the cupcake shapes.
5. Put your
cupcake wrappers in the holes of the cupcake baking tray.
6. Pour the
mixture in each wrapper, so it fills up to 2/3 of the wrapper. Add one piece of
white chocolate (if you don’t have white, just skip it, other chocolate won’t
fit as well with the other ingredients). The white chocolate will drop to the
bottom and caramelize, making for a lovely rich milky caramel. If you’d like
something different, you can also put a white chocolate truffle or a Lindor
chocolate covered in flour, in the middle of your mixture (poor half of the
needed mixture for 1 wrapper, put the chocolate, poor the rest of the mixture).
This way your chocolate won’t drop to the bottom and make for a nice surprise
in the middle.
7. Bake for
about 30 minutes or until a toothpick comes clean.
8. Wait for the
cupcakes to fully cool down before you put the icing on top, otherwise, it will
melt.
9. For the icing
just beat together all the ingredients and with a butter knife spread it on top
of each cupcake. I used a piping bag for a cleaner effect, but don’t expect to
be able to make any shapes with it, as the mixture is a little on the runny
side. If you’d like to decorate with the icing, you have to put more icing
sugar, so the mixture stiffens, but then it won’t be as silky, light and
delicious.
0 comments: